

How to Install Hidden Hinges on a Door?
Hidden hinges can be installed by accurately routing recesses into the door and frame, securing the hinge bodies, and adjusting their alignment for smooth operation.
What Tools Are Needed to Install Hidden Hinges?
Before installation, prepare the following tools:
Measuring tape and pencil
Combination square or carpenter's square
Router with a suitable hinge template
Chisel and mallet
Drill and appropriate drill bits
Screwdriver or electric driver
Clamps
Installation screws
Protective glasses and gloves
For 3D adjustable Concealed Hinges, the correct routing template and installation specifications are particularly important. The hinge dimensions, recess depth, and mounting positions should be confirmed before cutting.
How Do You Install Hidden Hinges Step by Step?
Installing hidden hinges on a wooden door generally involves six steps.
Step 1: Measure and Mark the Hinge Positions
Measure the door height and determine the appropriate hinge positions according to the door dimensions, weight, and hinge manufacturer's recommendations.
Mark corresponding positions on both the door edge and the door frame. Ensure that the hinge positions match precisely to prevent installation errors.
For heavier doors, the number and positioning of hinges should follow the manufacturer's load-bearing recommendations.
Step 2: Mark the Recess Areas
Place the concealed hinge against the marked installation position and trace its outline.
Measure the required recess dimensions, including width, height, and depth. The recess must accommodate the hinge body without leaving excessive gaps or causing the hinge to protrude.
Accurate marking is essential because incorrect recess dimensions can affect door alignment and opening performance.
Step 3: Cut the Hinge Recesses
Use a router and suitable template to create recesses in both the door and the frame.
A chisel can be used to refine corners and remove small amounts of remaining material.
Follow these precautions:
Keep the router aligned with the marked outline.
Remove material gradually rather than cutting too deeply in one pass.
Check the recess depth against the hinge specifications.
Keep both mounting surfaces clean and level.
The hinge body should fit securely inside the recess without being forced into position.
Step 4: Install the Hidden Hinges
Place the hinge bodies into the prepared recesses on the door and frame.
Align the screw holes and drill pilot holes where required by the installation instructions. Secure the hinges using the recommended fasteners.
Avoid overtightening the screws, as excessive force may damage the mounting material or affect hinge alignment.
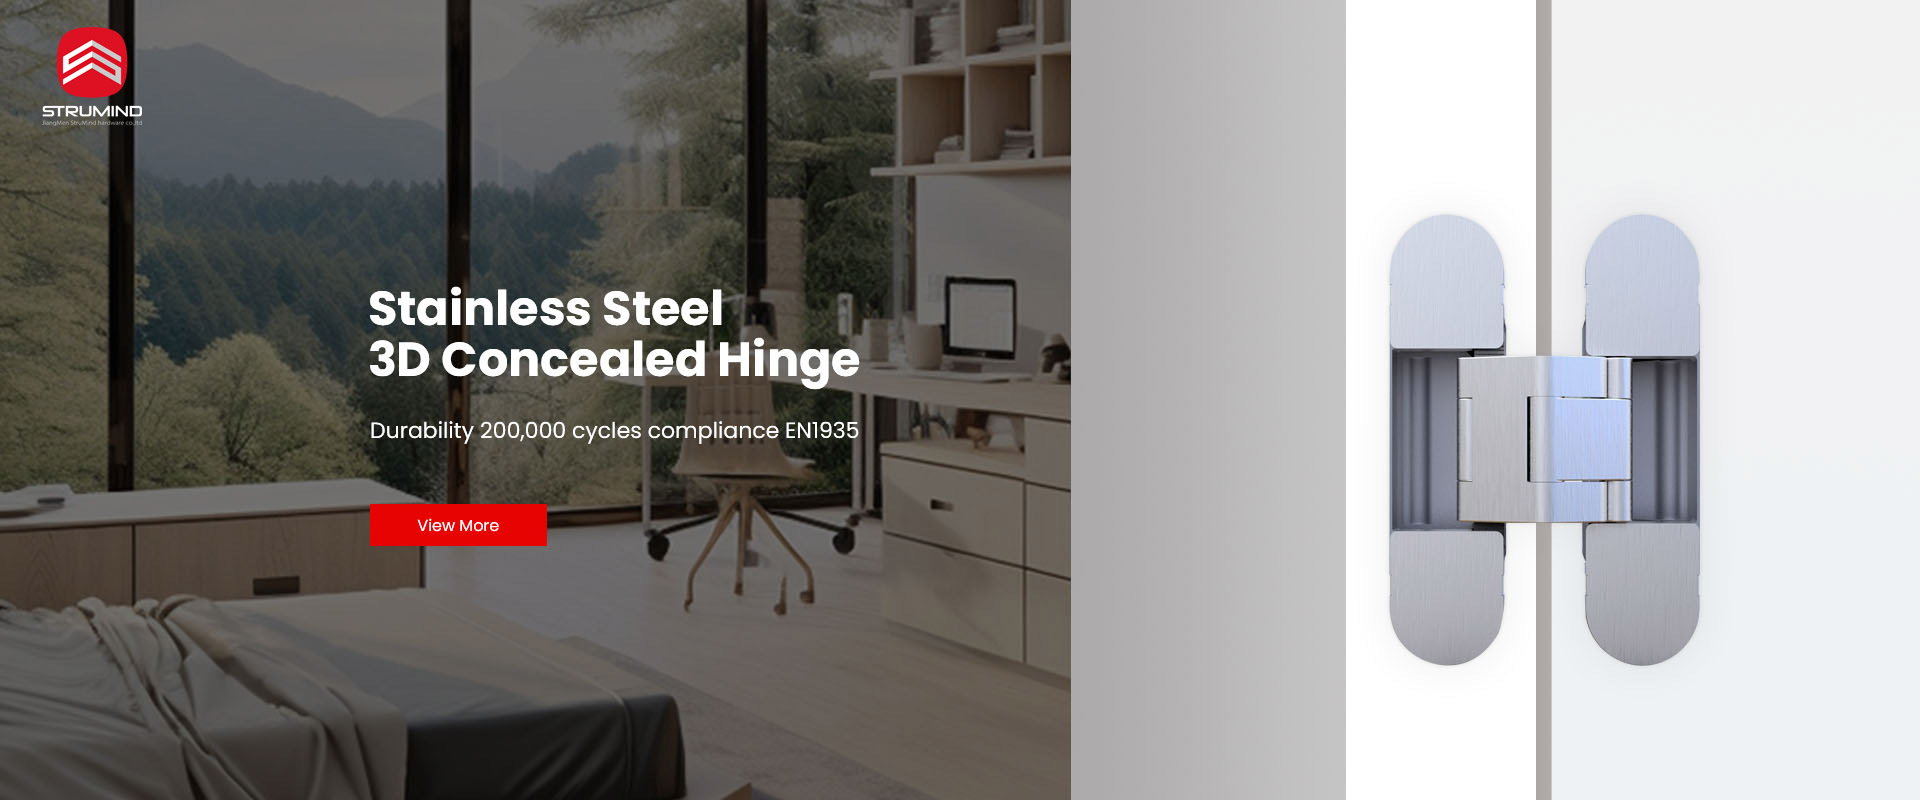
For STRUMIND 3D adjustable concealed hinges, the installation structure is designed to support precise positioning and convenient adjustment.
Explore STRUMIND Concealed Hinges for different models and applications.
Step 5: Mount the Door to the Frame
Carefully position the door within the frame and connect the corresponding hinge sections according to the hinge design.
For heavier doors, use suitable lifting equipment or additional support during installation.
Before fully tightening all fasteners, check:
Whether the door is level and correctly positioned.
Whether the gaps around the door are consistent.
Whether the hinge bodies are properly seated.
Whether the door opens without contacting the frame.
Correct positioning at this stage helps prevent unnecessary adjustments later.
Step 6: Adjust and Test the Door
After installation, open and close the door several times to check its movement.
Many 3D adjustable concealed hinges support adjustment in three directions:
Vertical adjustment: Corrects the door height.
Horizontal adjustment: Corrects the left-to-right door position.
Depth adjustment: Moves the door inward or outward relative to the frame.
Make small adjustments and test the door after each change.
The final installation should provide consistent clearances, smooth movement, and secure fastening.
How Do You Adjust 3D Adjustable Hidden Hinges?
3D adjustable hidden hinges allow installers to correct door positioning after the hinges have been mounted.
The three adjustment directions address different installation problems:
| Adjustment Direction | Main Function |
|---|---|
| Vertical | Raises or lowers the door |
| Horizontal | Moves the door left or right |
| Depth | Adjusts the door inward or outward |
The exact adjustment screw positions and procedures vary by hinge model.
From a manufacturer's technical perspective, adjustment should not be used to compensate for incorrectly prepared recesses or an uneven door frame. Proper initial installation reduces adjustment requirements and helps maintain long-term performance.
What Are the Common Mistakes When Installing Hidden Hinges?
Several installation mistakes can affect the performance and appearance of concealed door hinges.
1. Incorrect Recess Depth
A recess that is too shallow can prevent the hinge from sitting flush. An excessively deep recess can weaken the mounting area and affect positioning.
2. Misaligned Hinge Positions
If the door-side and frame-side recesses do not match, the door may become uneven or difficult to operate.
3. Incorrect Hinge Selection
Different concealed hinges have different load capacities, opening angles, dimensions, and application requirements. Always select a hinge according to the door material, thickness, weight, and intended use.
4. Overtightening Screws
Excessive tightening can damage screw holes, deform mounting areas, or interfere with hinge movement.
5. Skipping Final Adjustment
Even accurately installed hinges may require minor adjustments to achieve consistent door gaps and smooth operation.
How Do You Choose the Right Hidden Hinges for a Door?
Choosing the correct concealed hinge is just as important as installing it properly.
Consider these five factors:
Door Weight: Check the rated load capacity and the manufacturer's specified number of hinges.
Door Thickness: Confirm that the door provides sufficient space for the hinge recess.
Material: Consider whether the door and frame are made of wood, steel, or aluminum.
Opening Angle: Select a hinge that meets the required opening angle.
Adjustability: 3D adjustable hinges provide additional flexibility when correcting door alignment.
STRUMIND offers several concealed hinge models, including CHC120, CHC100, CHC80, CHC60, CHC60B, and CHC80-2, designed for different door applications.
For projects involving heavy doors, hotel doors, or modern flush-door designs, selecting the appropriate hinge model should be based on the actual installation requirements.
View the STRUMIND Concealed Hinge Product Range to explore available solutions.
Frequently Asked Questions About Installing Hidden Hinges
Can Hidden Hinges Be Installed on Existing Doors?
Yes. Existing doors can be retrofitted with hidden hinges if their material, thickness, structure, and frame dimensions are suitable. However, existing hinge recesses may need to be modified.
Do Hidden Hinges Require Special Tools?
Yes. Most architectural concealed hinges require a router, suitable template, measuring tools, and drilling equipment to create accurate recesses. The specific tools depend on the hinge design.
How Many Hidden Hinges Does a Door Need?
The required number depends on door weight, height, dimensions, hinge load capacity, and manufacturer recommendations. Two or three hinges may be suitable for certain doors, but heavier or taller doors may require additional support.
Can 3D Adjustable Hidden Hinges Correct Uneven Doors?
They can correct minor alignment differences through vertical, horizontal, and depth adjustments. However, significant frame distortion or incorrectly prepared recesses should be corrected before adjustment.
What Is the Difference Between Hidden Hinges and Concealed Hinges?
The terms are often used interchangeably. Both generally describe hinges designed to remain invisible or largely hidden when the door is closed. Architectural concealed hinges are commonly recessed into both the door and frame.
Why Choose STRUMIND Concealed Hinges?
STRUMIND specializes in architectural door hardware, including concealed hinges designed for residential and commercial door applications.
With a focus on product development, manufacturing, and customized hardware solutions, STRUMIND offers different concealed hinge models to accommodate varying door structures and project requirements.
The product range includes stainless steel concealed hinges and 3D adjustable designs that support precise door positioning, clean architectural appearances, and convenient installation.
For distributors, contractors, and architectural hardware buyers, selecting the correct concealed hinge involves more than appearance. Door compatibility, load capacity, installation dimensions, and adjustment requirements all contribute to reliable performance.
Contact STRUMIND to discuss concealed hinge specifications and customized hardware requirements.